Hello world in robotics: blink a LED
Goal
In this tutorial we will dive into the a practical example that teaches how to make one of the robot LEDs blink (the hello world in robotics).
Material
In order to follow the tutorial you will need:
- The robot Erle
- An 8 GB microSD card (others can be used) with the Ubuntu Linux Distribution that we provide.
- a (male) USB-to-miniUSB
- A computer with a serial terminal installed (you can use PuTTy in Windows or minicom in Unix-based OSs)
Tutorial
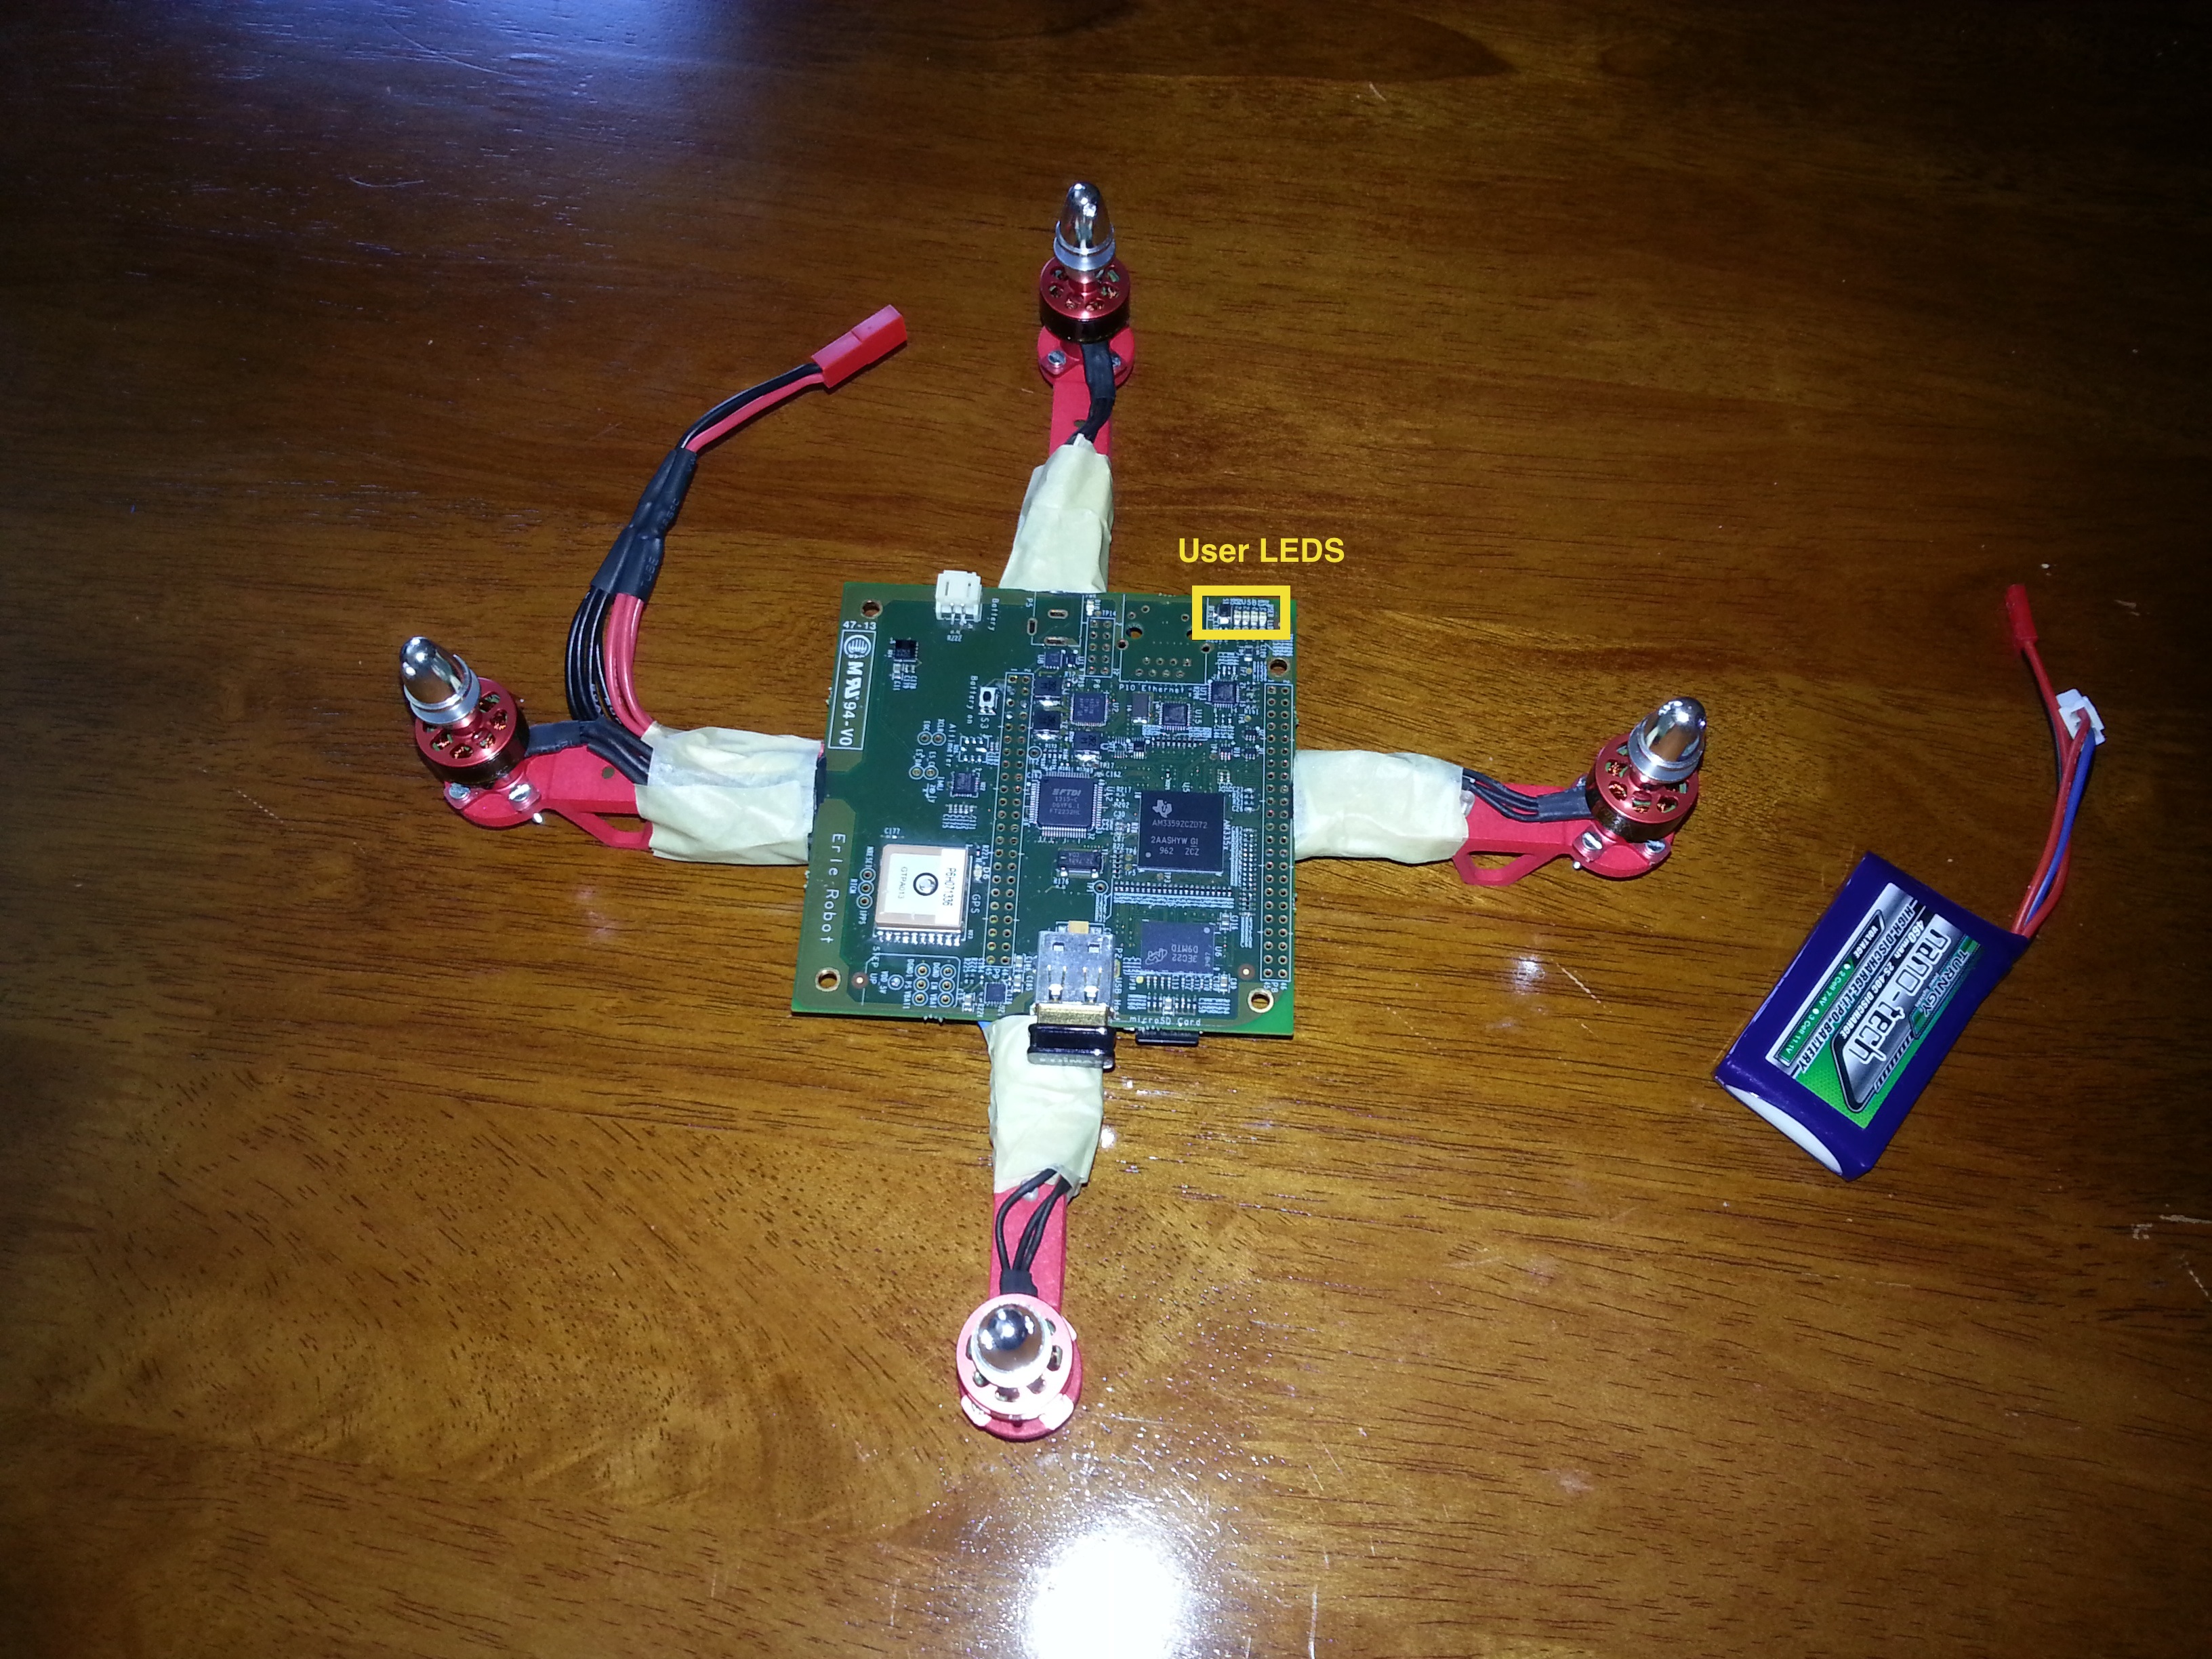
Erle has four user LEDS, usr0 - usr3 accesible throught the sysfs interface at /sys/class/leds. This interface abstracts the LEDs as files which means that we can actually control how these LEDs behave writing in a file. Cool, isn't it?
We will make blink one of the onboard USER Leds through simple bash shell commands.
First, move yourself to the LEDs sysfs dir:
cd /sys/class/leds
If you check the content of this directory (ls) you should see something like this:
erlerobot:green:usr0@
erlerobot:green:usr1@
erlerobot:green:usr2@
erlerobot:green:usr3@
Each of this directories allows you to interface with its corresponding LED and has a set of files that allow you to perform different tasks. For example, let's play with the usr0:
cd erlerobot:green:usr0@
ls
The content of listing (doing ls) this directory should be:
brightness device@ max_brightness power/ subsystem@ trigger uevent
As we said before, these files allow you to control the LEDs by writting on them but we can also check what they are doing right now by reading them. Simple blinking can be achieved by writting on the brightness file.
To switch the LED usr0 on type:
echo 1 > brightness
and to switch it off type:
echo 0 > brightness
Put LED usr0 in heartbeat mode:
# write in here
# the solution (assumes that you're at the usr0 directory)
echo "heartbeat" > trigger
assert(x == 10);